Humanized Version
Have you ever looked up at the sky and watched an airplane soar, feeling a little spark of wonder, perhaps even thinking about how cool it would be to put that feeling onto paper? Well, you know, it’s actually a lot simpler than you might think to create your very own aircraft artwork. Many people feel a bit intimidated by the idea of drawing something that flies, but honestly, it’s more about just taking things one tiny step at a time.
This little guide is here to show you a very straightforward way to get started with plane drawing, and it’s truly for everyone, whether you’re just picking up a pencil for the first time or you’ve doodled a bunch before. We’ll go through the basic moves you need to make, so you can begin to make your very own flying machines appear on the page. It's almost like learning to build with blocks, but with lines and shapes instead.
By the time you’ve followed along with these suggestions, you’ll have a real sense of accomplishment, moving from just a few hesitant lines to something that really looks like a plane. You’ll find that creating a picture of an aircraft can be a really fun and rewarding activity, and that, is that, it’s something you can do at any age. So, get ready to have a bit of creative fun, because we’re about to take off on a drawing adventure!
Table of Contents
- Getting Started with Your Plane Drawing Adventure
- What Do You Need for Your Plane Drawing Session?
- How Do You Begin Your Plane Drawing?
- Shaping the Body for Plane Drawing
- Can Anyone Learn Plane Drawing?
- Making Your Plane Drawing Look Even Better
- Where Can You Find More Plane Drawing Help?
- Taking Your Plane Drawing Skills Further
Getting Started with Your Plane Drawing Adventure
Starting to sketch an airplane might seem like a big deal, especially if you’re new to drawing, but honestly, it’s not that hard. The key is to keep things very simple and just go one small step at a time. You don’t need to be an art expert or have any special abilities; you just need a willingness to try. This whole process is set up to be very easy to follow, making sure you feel good about what you’re doing from the very first line. It’s pretty much about just following a few simple directions.
Many people, you know, think drawing is only for those who are naturally gifted, but that’s really not the case. With a clear set of steps, anyone can make something that looks really cool. This approach to plane drawing is designed to take away any worries you might have, giving you just what you need to get going. We’ll look at the basic forms that make up an airplane, and how you can put them together with ease. So, just relax and let your hand do the work.
This way of learning is especially good for folks who are just starting out, or for younger artists. It breaks down the whole task into tiny, easy-to-handle pieces. You’ll see that building up your plane drawing is a bit like putting together a puzzle; each piece fits right into the next. There’s no need to rush, and you can take all the time you need to make each line just right. It’s about having fun with the process, you know, and seeing what you can create.
What Do You Need for Your Plane Drawing Session?
Before you even make your first mark, it’s a good idea to gather a few simple things. You won’t need anything fancy, just some basic art supplies that you probably already have lying around. A piece of paper, any kind will do, is your starting point. It could be plain printer paper, a page from a sketchbook, or even a napkin if that’s all you have handy. The surface you draw on isn’t nearly as important as just getting started, you see.
Next, you’ll want something to draw with. A regular pencil is perfect for this. You can use a standard school pencil, a mechanical pencil, or even a colored pencil if you prefer. The nice thing about pencils is that they let you make light lines that are easy to erase if you make a little mistake. And speaking of erasing, a good eraser is also a very helpful item to have nearby. It gives you the freedom to try things out without worrying about getting it perfect on the first go, which is quite reassuring, I think.
Sometimes, people find it helpful to have a ruler or something with a straight edge, but for this kind of plane drawing, you really don’t need one. We’re going for a more freehand, relaxed approach, where slight imperfections just add to the charm of your unique creation. So, basically, just a piece of paper, a pencil, and an eraser are all your essentials for getting ready to make some cool aircraft art. That’s pretty much it, really.
How Do You Begin Your Plane Drawing?
So, you’ve got your paper and pencil ready, and you’re wondering where to even start with this plane drawing business. Well, the very first step is to make a gentle curve. Imagine drawing a line that sweeps upwards, kind of like the top part of a rainbow, but not too steep. This line will form the initial outline of your plane’s body, or what some people call the fuselage. It’s just a single, smooth motion to get things going, you know.
Once you have that first upward curve, you’ll want to give it a little bend at one end, making it look a bit like a gentle hook. This small curve will help define the front or back of your aircraft, depending on which way you’re planning for it to face. It’s a subtle touch, but it really helps to give the initial shape some direction. You’re not trying to make it perfect at this stage, just getting the general idea down on paper. It’s more or less about setting the foundation.
After that, you’ll add another curve to meet the first one. This second line will go downwards, starting from the open end of your first curve and sweeping down to connect with the hooked part. Think of it as putting a lid on a container, or closing a gentle loop. When these two curves meet, they’ll create the main body shape of your airplane. It’s quite simple, really, just two lines coming together to form the basic outline of the aircraft’s main section. That’s the core of it, basically.
Shaping the Body for Plane Drawing
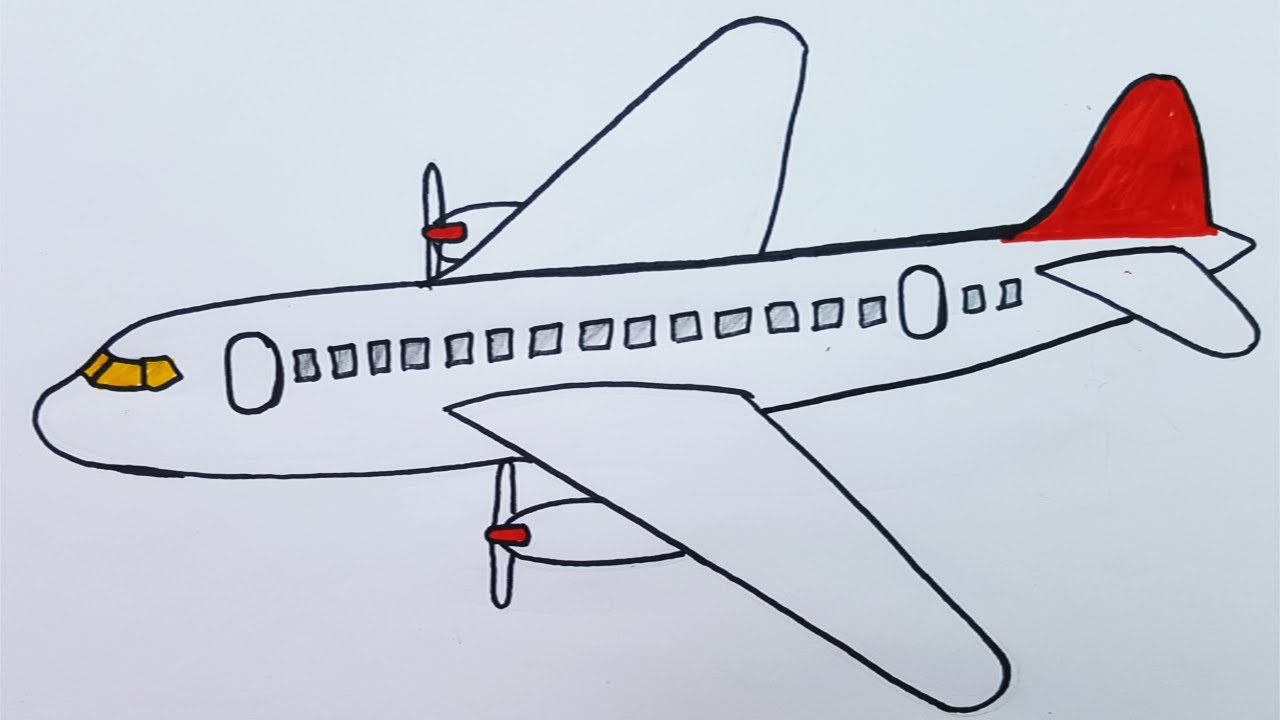
Now that you have the basic body shape for your plane drawing, it’s time to think about adding a few more details to make it look more like a real flying machine. This part is still very straightforward, so don’t worry about anything being too complicated. We’re going to focus on the wings and the tail, which are pretty important parts of any aircraft, as you can imagine. They give the plane its ability to fly and steer, after all.
For the wings, you’ll want to draw lines that extend out from the main body you’ve already created. Think of them as long, somewhat narrow shapes that come out from the sides. You can make them a little curved or mostly straight, depending on the kind of plane you’re trying to picture. It’s just a matter of adding a couple of simple shapes that stick out from the central part. You can, like, make them a bit wider at the base and taper them slightly as they go outwards.
The tail section usually involves a few more smaller shapes at the back of the plane. There’s typically a vertical part that sticks up, and then a horizontal part that looks like a mini-wing. These are just more lines and curves that you add to the very end of the aircraft’s body. It’s really about building up the picture piece by piece, adding one simple shape after another. You’re essentially just giving your plane its necessary parts, you know, so it looks ready for flight.
Can Anyone Learn Plane Drawing?
A lot of people wonder if drawing, especially something like a plane, is only for those who have a special talent or have been doing it for years. The honest truth is, anyone can learn plane drawing. It doesn't matter if you’ve never drawn anything before in your life, or if you think you can only draw stick figures. This particular way of teaching is set up to be incredibly easy for everyone, from young children to grown-ups who are just looking for a fun new hobby. It’s literally for all ages, you know.
The secret, if you want to call it that, is in the step-by-step approach. Instead of trying to draw the whole plane at once, which can feel a bit overwhelming, you just focus on one small line or one simple shape at a time. Each step builds on the last one, making the entire process feel very manageable and not at all intimidating. You’re basically just connecting the dots, in a way, to create your final picture. It's really that straightforward, believe it or not.
You’ll find that as you follow along, your hand will start to get used to the motions, and your confidence will grow with each line you put down. There’s no pressure to make it look perfect right away. The idea is to enjoy the act of creating and to see how simple it can be to bring an airplane to life on your paper. So, if you’ve ever thought about trying to draw an aircraft, this is your chance to discover just how accessible and fun it can be. It's pretty much an open invitation to artistic expression.
Making Your Plane Drawing Look Even Better
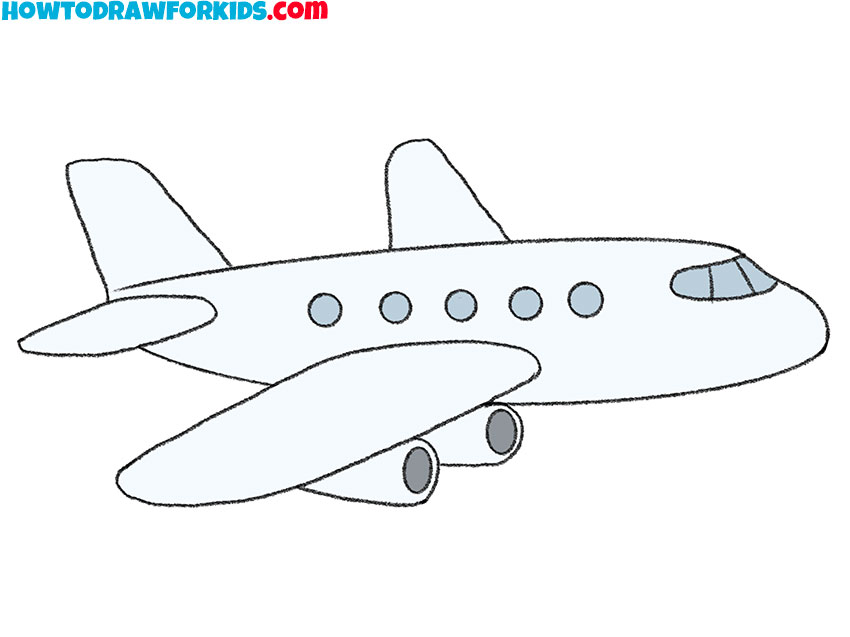
Once you’ve got the basic shape of your plane drawing down, you might start thinking about how to make it look a little more complete or detailed. This is where you can add some personal touches and really make your aircraft unique. You can think about adding windows, for example, which are just small rectangles or circles along the side of the fuselage. These give your plane a sense of scale and make it seem like there are people inside, ready for a trip. It’s a simple addition that makes a big difference, honestly.
Another thing you can consider is adding some lines to suggest the engines, especially if you’re drawing a jet. These might be cylindrical shapes attached to the wings or the back of the plane. You can also add landing gear, which are just a few lines and circles for the wheels underneath the plane’s body. These details are not strictly necessary for a basic plane drawing, but they certainly add a lot of character and realism to your picture. You know, they give it that extra something.
You can also play around with shading or coloring your plane drawing once you’re happy with the lines. Using different shades of gray or adding some color can really make your aircraft pop off the page. You don’t need to be an expert with colors; just a simple wash of blue for the sky or some light gray for the plane itself can make a big impact. It’s all about having fun and experimenting with what you like. Basically, it’s your chance to really make it your own.
Where Can You Find More Plane Drawing Help?
So, you’ve tried your hand at plane drawing, and maybe you’re feeling good about what you’ve made, or perhaps you just want to keep learning more. The good news is, there are plenty of places to get extra help and guidance. Many online resources offer simple drawing instructions, often with clear pictures or even video demonstrations. These can be incredibly helpful because you can watch someone draw the lines in real-time, which is sometimes easier than just reading about it. You can, like, pause and rewind as much as you need to.
You can often find step-by-step guides that break down the process into nine or even more small parts, making it very easy to follow along. Some of these guides focus on drawing planes from a specific angle, like a 3/4 view, which can add a lot of depth to your drawings. These kinds of resources are really good for beginners because they show you exactly where to put your pencil for each line. It’s pretty much like having a personal drawing teacher right there with you.
Beyond static pictures, there are also lots of video tutorials available that walk you through the entire process. These are especially useful for seeing the flow of the drawing and how different lines connect. Whether you prefer to learn by looking at pictures or by watching a video, there’s definitely something out there to help you continue your plane drawing adventures. So, you’re never really stuck for help, which is quite reassuring.
Taking Your Plane Drawing Skills Further
After you’ve gotten comfortable with the basic plane drawing steps, you might feel a desire to push your skills a little bit more. This is a very natural feeling, as creative pursuits often encourage us to keep growing. You could try drawing different types of aircraft, for instance. There are all sorts of planes out there, from small propeller planes to large passenger jets, and even military aircraft. Each one has its own unique shapes and features, which can be a fun challenge to try and capture on paper. It's almost like collecting different kinds of stamps, but with drawings instead.
You could also experiment with adding backgrounds to your plane drawings. Imagine your plane soaring through fluffy clouds, or landing on a runway. Adding a setting can really bring your drawing to life and tell a little story. You don’t need to be an expert landscape artist; even a few simple lines to suggest the horizon or some basic cloud shapes can make a big difference. It’s just about giving your aircraft a place to exist, you know, in its own little world.
Another way to expand your abilities is to try drawing planes from different angles. Instead of always doing the same side view, try a head-on view, or a view from underneath. This can be a bit trickier at first, but it really helps you to understand the three-dimensional form of the aircraft. With practice, you’ll find that your tentative scribbles will turn into really confident pieces of aviation art. So, keep practicing, and you’ll see how much you can improve, honestly.
So, we’ve covered how to begin your plane drawing with simple curves, how to shape the body and add wings and a tail, and how anyone can pick up these skills with easy-to-follow steps. We also talked about making your drawings look even better with extra details like windows and engines, and where to find more help, including video tutorials and step-by-step guides. Finally, we looked at how you can take your new plane drawing abilities to the next level by trying different aircraft types, adding backgrounds, and experimenting with various angles.