Learning to write letters with a bit of a flourish, like the cursive 'r', can feel like picking up a new skill, a bit like learning to play a musical instrument or, you know, figuring out a new recipe. There's a certain rhythm to it, a way the pen moves across the paper that's quite different from just printing. It's about connecting shapes and making them flow into one another, which, in a way, is what gives cursive its distinctive look. This particular letter, the 'r', has a couple of common styles, and getting comfortable with both can really open up your writing.
Many folks, you know, find themselves curious about cursive, maybe because they want to read older documents, or perhaps they just like the way it looks. There are some who remember learning it in school, and others who are just starting out. No matter where you're at with it, the 'r' is one of those letters that, honestly, can sometimes trip people up a little. It's got its own quirks, whether you're making the big, tall version or the smaller one that sits on the line.
We've got some good news for anyone looking to get better at this particular letter. There are, as a matter of fact, plenty of free tools and helpful pointers out there to guide you. From seeing how the letter is formed to getting some real practice sheets, it's all about finding what works for you to get that pen moving smoothly. We'll talk about how to get going with the cursive 'r', some good ways to practice, and why it's a neat thing to know.
Table of Contents
- What's the deal with cursive r?
- Getting started with cursive r?
- Making your cursive r look good?
- Why bother with cursive r anyway?
- Connecting cursive r to other letters?
- Free Helps for Cursive R Practice
- Printable Practice for Cursive R
- Real-World Tips for Cursive R
What's the deal with cursive r?
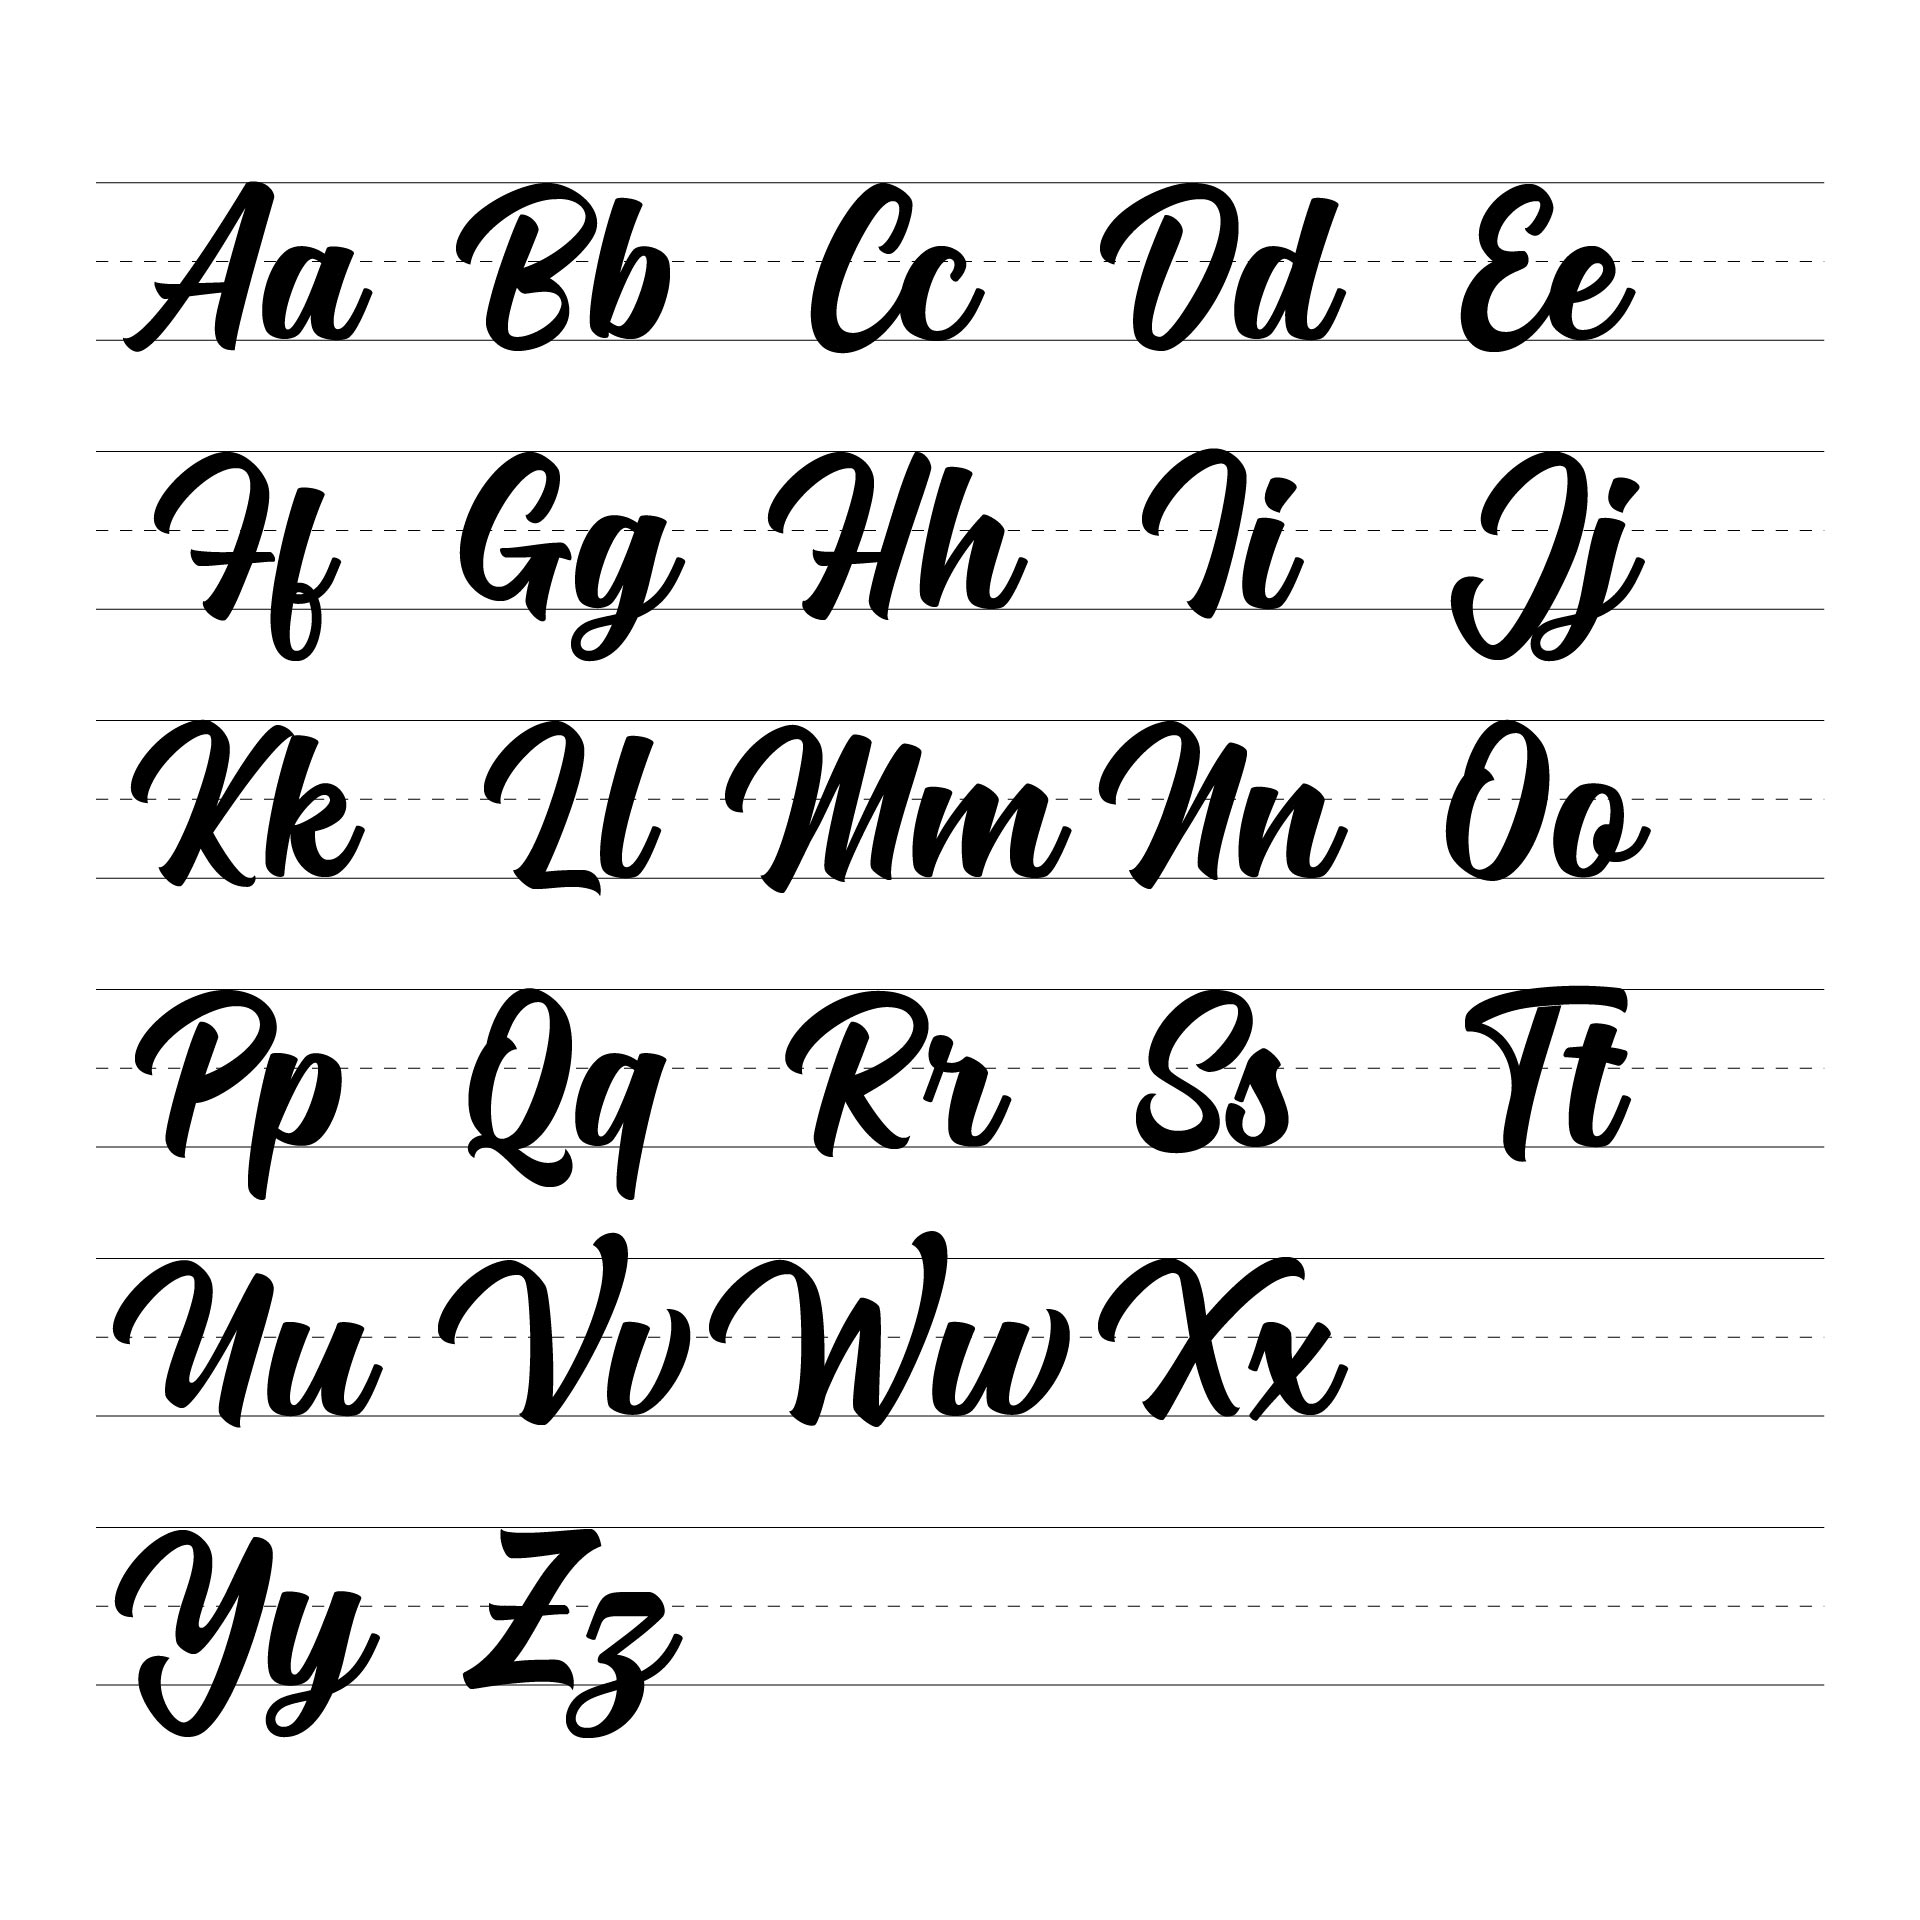
So, you might be wondering, what's so special about the letter 'r' when you're writing in cursive? Well, it's pretty common in a lot of words we use every day, which means getting it right helps a lot with your overall flow. It's also, you know, one of those letters that can look a little different depending on who taught you or what style you're following. My own father, for instance, used a style for the 'r' that looked quite a bit like the printed version, just with a bit of a slant and a connection. My mother, on the other hand, preferred one that had a wider top part, a bit more of a flourish to it. Both are perfectly fine ways to make the letter, and it just goes to show there's some variety even within cursive writing. This letter, the 'r', is the eighteenth letter in the usual alphabet, but when you're learning cursive, it sometimes pops up a bit later in the sequence, perhaps as the eleventh letter you pick up. It's a key piece of the puzzle for sure.
Getting started with cursive r?
When you're ready to start making the cursive 'r', whether it's the big one or the small one, there are some pretty straightforward steps to follow. For the capital 'R', you typically begin by making an oval shape. You want to start this just a little bit above the very bottom line of your paper. From there, you sort of push your pen upward, making a loop at the very top. Then, you curve that line back down, bringing it around to meet where you first started. It's, you know, a bit like drawing a very stylized number '2' at first, but then you add the finishing touches. For the lowercase 'r', it's a bit different. You usually start your pen or pencil right on the baseline, that bottom line where your letters usually sit. From there, you begin to form the lower part of the letter, getting ready to bring it up and over. It's about getting that initial movement just right, so the rest of the letter falls into place. Some folks find it helpful to watch a quick moving picture of someone writing the cursive 'r' to get a good sense of the motion.
Making your cursive r look good?
To make your cursive 'r' really shine, there are a couple of things you can pay attention to. For both the big and small versions, it's about getting a clear, angled line and a neat loop. You want these parts to be pretty consistent every time you write the letter. This consistency, you know, helps your overall cursive look much more polished and easy to read. It's like, if you're building something, you want all the pieces to fit together well. For the lowercase 'r', specifically, you're looking to create a distinct diagonal stroke that then loops back. This helps it stand out and connect smoothly to the next letter. There's a particular way the pen moves to complete the 'r' with a slight curve that goes a little bit above the middle line, which is pretty important for joining it up with other letters later on. It's all about the flow, really, making sure one part of the letter leads naturally into the next. Practicing these specific movements, like drawing that distinct diagonal, can really make a difference in how your cursive 'r' turns out.
Why bother with cursive r anyway?
You might ask yourself, why even bother learning to write the cursive 'r' or any cursive for that matter? Well, it's a skill that, for some, connects them to how things were done in the past. It's also, you know, pretty common in lots of words and names we see every day, so being able to write it helps you with a lot of common writing tasks. For younger students, getting good at handwriting, including cursive, can actually help with their hand-eye coordination and fine motor skills. It's a bit like learning to tie your shoes or button a shirt; it builds up those small muscle movements. Plus, there's something rather satisfying about seeing your own handwriting flow smoothly across the page. It’s a bit of an art form, in a way. Learning the cursive 'r' is just one piece of that bigger picture, but it’s a very useful piece indeed.
Connecting cursive r to other letters?
One of the really neat things about cursive, and the cursive 'r' is no exception, is how letters join up. It's all about making your writing flow without lifting your pen too often. After you finish making the 'r', you usually end it with a slight upward curve. This little curve, you know, extends just a bit above the middle line, which is exactly where you need it to be to link up with the letter that comes next. It's like a little bridge connecting one letter to the next. This joining technique is what gives cursive its continuous, flowing look. So, if you're writing "run," after you make your 'r', that little upward curve becomes the starting point for your 'u'. It’s a pretty clever system, honestly, and once you get the hang of it, your words will start to look like one smooth, unbroken line of thought. This rhythm and flow are what cursive writing is all about, and the 'r' plays its part perfectly.
Free Helps for Cursive R Practice
Good news for anyone wanting to get better at writing the cursive 'r': there are plenty of helpful things available for no cost at all. You can find, as a matter of fact, free practice sheets that you can print out right at home. These sheets are great because they often show you exactly how to form the letter, step by step, both the big 'R' and the small 'r'. Some even have dotted lines for you to trace over, which is a really good way to get the feel for the shapes before you try them on your own. It's like having a guide for your hand. You'll also find charts that show the cursive 'r' in different ways, helping you to see its different forms and how it connects. These free resources are perfect for teachers who want to help their students, or for parents who are teaching their kids at home. They make learning a bit more accessible, you know, and a lot less intimidating.
Printable Practice for Cursive R
When it comes to getting some good practice in, having printable sheets for the cursive 'r' can be a real help. We've got, you know, a whole bunch of original practice pages for the cursive 'r' that you can download and print without paying a dime. These pages are designed to give you lots of chances to try out the letter. Some sheets might have you trace the letter many times, maybe eleven times on each line for six lines, with the idea that you'll start to do it without even thinking too much. It's about building that muscle memory, so your hand just knows what to do. You can find pages that focus just on the small 'r', or others that let you work on both the big 'R' and the small 'r'. There are even some that let you trace the 'r' within a whole sentence, so you can see how it fits into words. You can pick and choose from different kinds of these sheets, depending on what you feel like working on. It's a pretty straightforward way to get some solid repetition in for the cursive 'r'.
Real-World Tips for Cursive R
Beyond just tracing and copying, there are some practical tips that can really make a difference when you're working on your cursive 'r'. One thing that helps a lot is paying close attention to that initial diagonal line and the loop for both the big and small 'r'. Making these parts consistent, as I was saying, helps your writing look neat. It's also a good idea to watch how someone else writes the cursive 'r'. There are, for example, video lessons that show you exactly how the pen moves for both the uppercase and lowercase versions. Seeing it in motion can really help you understand the flow. These videos sometimes even go a little further, giving you extra pointers on how to get really good at cursive writing in general. They might show you how to connect the 'r' to other letters, which is, you know, a big part of writing words in cursive. It's all about finding those little tricks that make the whole process feel more natural and less like you're just drawing shapes. Practice, of course, is key, but practicing smart makes all the difference.
This article has covered how to form the cursive 'r' in both its capital and lowercase versions, discussed why this particular letter is important, and pointed out the many free resources available for practice, including printable sheets and video guidance, all aimed at helping you gain confidence with your cursive 'r'.