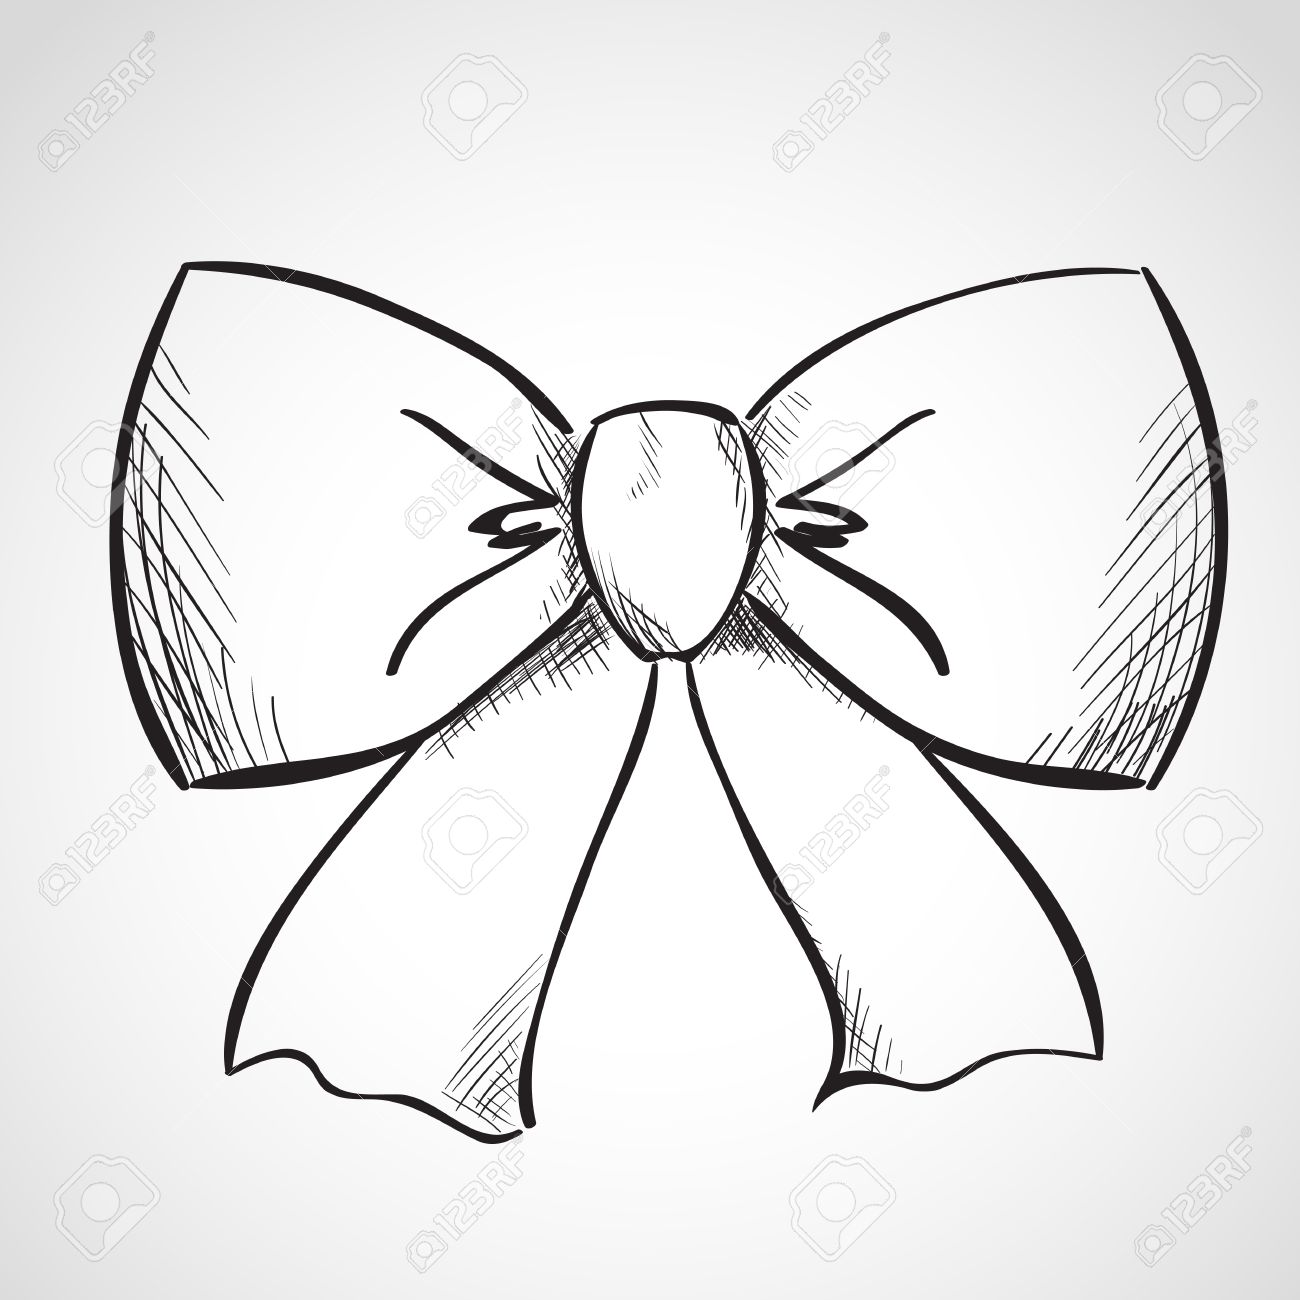
Adding a sweet little decorative knot to your pictures, you know, those charming fabric loops, can really make them stand out. It’s a way to give your artwork a touch of whimsy or elegance, making things feel a little more complete, actually. These tiny embellishments have a way of catching the eye, offering a gentle flourish to whatever you are working on, so.
And learning how to create one of these lovely shapes on paper is pretty straightforward, which is quite nice for anyone just picking up a pencil. We often think of drawing as something complicated, yet, for something like a bow, it turns out to be surprisingly accessible. This particular skill, too it's almost, offers a quick win for those eager to see progress in their creative pursuits.
Today, we will walk you through a bunch of different ways you can draw these appealing little decorations, from simple ribbon styles to something a bit more elaborate. This guidance is put together especially for folks who are just getting started, helping them feel comfortable and capable as they explore what they can do with a pen or pencil, you know. We will look at some easy methods that anyone can pick up, really, making the whole process enjoyable and not at all intimidating.
Table of Contents
- Why Add a Bow to Your Art?
- Getting Started with Bow Drawing
- Exploring Different Bow Drawing Styles
- Bow Drawing for All Occasions
- Finding Fresh Bow Drawing Ideas
- Making Your Bow Drawings Pop
- Resources for Your Bow Drawing Practice
Why Add a Bow to Your Art?
Bows, you see, are quite a charming addition to nearly any kind of picture or design you might be putting together. They have this lovely way of bringing a soft touch, a little bit of charm, to things that might otherwise seem plain, or very, very simple. Think about how a neatly tied ribbon looks on a present; it just makes the whole thing feel more special, doesn't it? That is the kind of effect a drawn bow can have, too it's almost, on your creative work, giving it a certain polish or a sweet, gentle appeal.
These little decorative knots are surprisingly flexible in how you can use them, which is a big part of their appeal. You can make them look dainty and delicate, or perhaps a bit more grand and flowing, depending on what your picture needs. They fit in well with a lot of different artistic feelings, from something that feels old-fashioned and graceful to something very modern and clean. It’s like they have a secret ability to adapt, naturally, to whatever mood you are trying to set with your drawing, which is quite useful.
For someone who likes to just sketch in a notebook, maybe to capture a certain feeling or a popular look, bows are a truly good choice. They can help bring out a "coquette aesthetic," as some might call it, which is all about being playful and pretty, in a way. Just a few lines can create something that feels very much a part of this charming style, making your little doodles feel much more expressive. It’s a simple way, you know, to add a fashionable touch without a lot of extra effort, making your pages look really delightful.
Getting Started with Bow Drawing
Beginning your journey into drawing these lovely loops is much simpler than you might think, which is a relief for many who feel a bit hesitant about drawing. The whole process really begins with getting comfortable with some very basic shapes and a few guiding lines, actually. These initial steps are the building blocks, the foundational bits that help make everything else fall into place, so to speak. They take what might seem complex and break it down into manageable, easy-to-follow pieces, which is very helpful for learning.
Think of it like putting together a puzzle; you start with the edges, the most straightforward parts, and then the rest starts to make sense. For bow drawing, these early guidelines are your edges. They give your bow structure before you even begin to add the softer, flowing lines that make it look like fabric. This structured approach means you are not just guessing, but rather, you are building your bow with a clear plan, which tends to be much more effective for getting good results.
These initial, basic steps do more than just make the process easier; they also make it feel much more organized and less overwhelming. When you have a clear path to follow, it removes a lot of the guesswork and lets you focus on each small part of the drawing. This structured way of learning helps to build confidence, too it's almost, allowing you to see how each simple stroke contributes to the complete and beautiful shape of the bow. It’s a very practical way to approach any new drawing skill, naturally, ensuring a smoother learning curve.
What Basic Shapes Help with Bow Drawing?
When you are trying to make a bow appear on your paper, starting with very simple forms can make a world of difference, honestly. Think about shapes like circles, ovals, and perhaps some gentle curves or straight lines as your starting points. These aren't the final look of the bow, of course, but they act as a kind of skeleton, giving you a framework to build upon. It is a bit like how a sculptor might begin with a rough block before carving out the fine details, providing a solid base for the bow drawing process.
For instance, you might begin a classic bow by drawing two overlapping circles or ovals for the main loops, and then a smaller circle or rectangle in the middle for the knot. From these basic shapes, you can then start to add the flowing lines that suggest fabric, the way it folds and gathers. This method, you know, really simplifies what could seem like a tricky shape into something quite manageable. It helps you get the proportions right and ensures that your bow looks balanced and pleasing to the eye, more or less.
Even for the hanging tails of the bow, simple straight lines or gentle arcs can serve as your initial guides. You can later soften these lines, adding a bit of a wavy quality or a more defined fold. By breaking the bow down into these easily recognizable geometric shapes, you take away a lot of the intimidation that can come with drawing something new. It makes the whole bow drawing activity feel less like a mystery and more like a puzzle you can solve with a few simple pieces, which is very encouraging for anyone, pretty much.
Exploring Different Bow Drawing Styles
Bows are not just one single look; they come in so many wonderful styles, which is part of what makes drawing them so much fun. You can find inspiration in the everyday, like the fabric and ribbon bows that you see adorning presents, neatly tied on someone's hair, or even sewn onto clothing. These familiar shapes are a great place to begin, giving you a clear idea of how a bow sits and folds, so. There is a wide range of possibilities, from something very simple and cute to something much more elaborate and decorative, allowing for lots of creative freedom.
Think about the difference between a simple, neat bow that might tie up a ponytail and a grand, flowing bow that decorates a large gift box. Each has its own charm and its own way of being drawn. Some bows might have very crisp, defined edges, while others might appear soft and slightly ruffled, suggesting a different kind of material. This variety means you can always find a bow style that fits the mood or purpose of your particular drawing, making it a truly flexible design element, in a way.
You might want to experiment with bows that have multiple loops, or perhaps ones with very long, trailing ribbons. There are bows that look puffy and full, and others that are flat and streamlined. Exploring these different looks helps you to build a wider range of drawing skills and gives you more options for your creative projects. It is really quite interesting to see how a few lines can change so much just by adjusting the shape or the way the 'fabric' seems to move, you know, creating a very different visual feel.
How Can You Draw a Simple Ribbon Bow?
To sketch a basic ribbon bow, you can start with a simple shape that resembles a slightly flattened "figure eight," which is a good way to get the main loops. Imagine two gentle curves that meet in the middle, creating the top part of the bow. This initial outline helps you to get the general size and placement right before you add any more detail, which is very helpful for a clean start. It is a fundamental step for any bow drawing that uses a ribbon-like form, providing a clear foundation, as a matter of fact.
Once you have these two main loops sketched out, you can then add a small, narrow rectangle or a little circle in the very center. This will be the knot, the part where the ribbon seems to cinch everything together. This central piece is quite important because it gives the bow its sense of structure and helps to define where the loops meet. It's a key element that makes your bow drawing look complete and gives it a realistic feel, more or less, even in a simple sketch.
After the loops and the center knot are in place, you can then draw the tails of the ribbon, extending downwards from the knot. These can be straight, or they can have a gentle curve to them, suggesting a slight sway. You might even add a little V-cut at the end of each tail, which is a common finish for ribbon bows. These simple additions, you know, bring the whole bow together, making it look like a charming piece of fabric decoration. It is a really straightforward approach that anyone can pick up quickly, actually, for creating a pretty bow.
Bow Drawing for All Occasions
Bows are truly flexible little decorative bits that can add a special touch to so many different things you create. They are not just for one kind of picture or one specific use; their versatility means they fit in almost anywhere. Whether you are making a greeting card for someone, decorating a gift, putting together an illustration for a story, or just doodling in your personal sketchbook, a well-placed bow can really make a difference, so. They have this wonderful ability to bring a sense of joy or elegance to whatever they are attached to, which is quite nice.
Imagine drawing a birthday card; a sweet little bow could be tied around a drawn present on the card, or perhaps it could decorate the corner of the message. If you are sketching a character, a bow could be a charming accessory in their hair or on their clothing, giving them a bit more personality. For something like a simple border on a page, repeating bows can create a lovely pattern that feels both decorative and inviting. They just seem to fit in so naturally, you know, with a wide range of creative needs, which is a big plus.
These decorative elements are also great for setting a particular mood. A neat, crisp bow might suggest formality or a sense of being well-put-together, while a slightly messy, flowing bow could give off a more playful or whimsical vibe. This means you can use your bow drawing skills to subtly communicate feelings or themes within your artwork. They are a simple yet powerful way to add visual interest and a touch of charm, making your creations feel more complete and thought-out, pretty much, no matter the situation.
Finding Fresh Bow Drawing Ideas
If you are just looking for some new and exciting thoughts to get your creative juices flowing, there are so many simple and imaginative ways to approach drawing bows. You do not have to stick to just one kind; the world of bows is quite wide open for exploration. From those really cute, simple ribbon bows that you see everywhere to much more decorative and stylish versions, there is a whole spectrum of ideas waiting for you to try out. It is all about letting your imagination play a little, you know, and seeing what kind of lovely shapes you can bring to life on paper, so.
Sometimes, the best inspiration comes from just observing the bows around you in daily life. Look at how a bow is tied on a shoelace, or how a decorative bow might be placed on a floral arrangement. Each one offers a slightly different structure or a unique way the fabric falls. You can also look at pictures online or in books, paying attention to the various styles and how they are used. This kind of looking, you see, helps to build up a mental library of bow shapes that you can draw upon later, which is very useful for any artist, naturally.
Do not be afraid to experiment a little bit with your bow drawing. What happens if you make the loops much larger, or the tails incredibly long? What if the bow is made of a very stiff material versus a very soft, flowing one? Playing with these ideas can lead to some truly delightful and unique bow designs that you might not have thought of otherwise. It is all about having fun with the process and letting your hand explore different possibilities, which often leads to the most interesting results, pretty much, for your artistic endeavors.
Where Do You Look for Bow Drawing Inspiration?
When you are seeking fresh ideas for your bow drawing, the world around you is actually quite full of examples, if you just take a moment to notice them. Think about all the places bows appear: on gifts, in people's hair, on clothing, even as decorations in shops. Each of these real-life bows can give you a clear picture of how fabric folds and ties, offering a great starting point for your sketches, so. It is a bit like having a live model right there, showing you the different ways a bow can look, which is very convenient.
Beyond what you see every day, the internet is, of course, a huge source of visual inspiration. Websites dedicated to crafts, fashion, or even just general art can show you countless styles of bows, from the very simple to the incredibly intricate. You can search for "ribbon bows," "hair bows," or "decorative bows" to see a wide array of designs. Looking at these pictures helps you to understand the various ways loops and tails can be shaped, giving you plenty of new ideas for your own bow drawing, you know.
Even just thinking about the purpose of a bow can spark new ideas. Is it a dainty bow for a small item, or a grand, flowing one for a celebration? The feeling you want to convey can guide your design choices. Sometimes, simply sketching a quick, rough version of a bow that pops into your head, without worrying too much about perfection, can lead to a really interesting and delightful result. It is all about keeping your eyes open and letting your mind play with different shapes and forms, which is quite a fun way to find inspiration, pretty much, for your creative projects.
Making Your Bow Drawings Pop
Once you have the basic shape of your bow down, there are some simple ways to make your bow drawing really stand out and feel more alive. It is not just about the lines; it is also about how you add depth and a bit of character to the drawing. Think about how real fabric looks: it has shadows where it folds, and highlights where the light catches it. Adding these subtle touches can transform a flat sketch into something that feels much more three-dimensional, which is very appealing, naturally.
One way to give your bows more life is to think about where the light source is coming from. If the light is hitting the bow from one side, then the other side, or the parts that are folded away from the light, will have a gentle shadow. You do not need to be an expert in shading; even just a slightly darker line or a very light smudge with your pencil in those areas can make a big difference. This simple addition, you know, helps to give the bow a sense of form and makes it appear less like a flat cutout, actually, and more like a real object.
Another thing to consider is the texture of the ribbon or fabric you are trying to draw. Is it smooth and silky, or does it have a rougher, more textured feel? While you might not add every tiny detail, a few small lines or a particular way of shading can suggest the material. For instance, a few short, parallel lines might hint at a ribbed ribbon. These small considerations, too it's almost, can really elevate your bow drawing from a simple outline to something that has depth and a bit of visual interest, making it truly pop on the page.
Resources for Your Bow Drawing Practice
To help you get started and keep going with your bow drawing, having some helpful tools and ideas at your fingertips can make a big difference. One really good thing is that there are often free printable guides available, which can be incredibly useful for beginners. These guides often provide step-by-step instructions and outlines that you can trace or follow along with, making the initial learning process much less intimidating, so. They give you a clear path to follow, which is very reassuring when you are trying something new.
Beyond just drawing the outlines, thinking about coloring your bows can open up a whole new world of creative possibilities. The printable guides often include ideas for coloring, suggesting different palettes or ways to